Modeling & Materials

Weekly Design Challenge Template

In the modelling and materials course, we develop and refine our modelling skills through weekly challenges each module.


Module 1


Design challenge instructions: Collect 8 objects: 5 based on primitive shapes and 3 with complex geometry, avoiding clear glass/plastic. Choose a 3D modeling software, complete an introductory tutorial, and model one of your objects using additional tutorials. Photograph your objects, add your best images to the web template.

Note: I decided to showcase the 3d modelled iterations of the object that I worked the most on.

Design Challenge 1
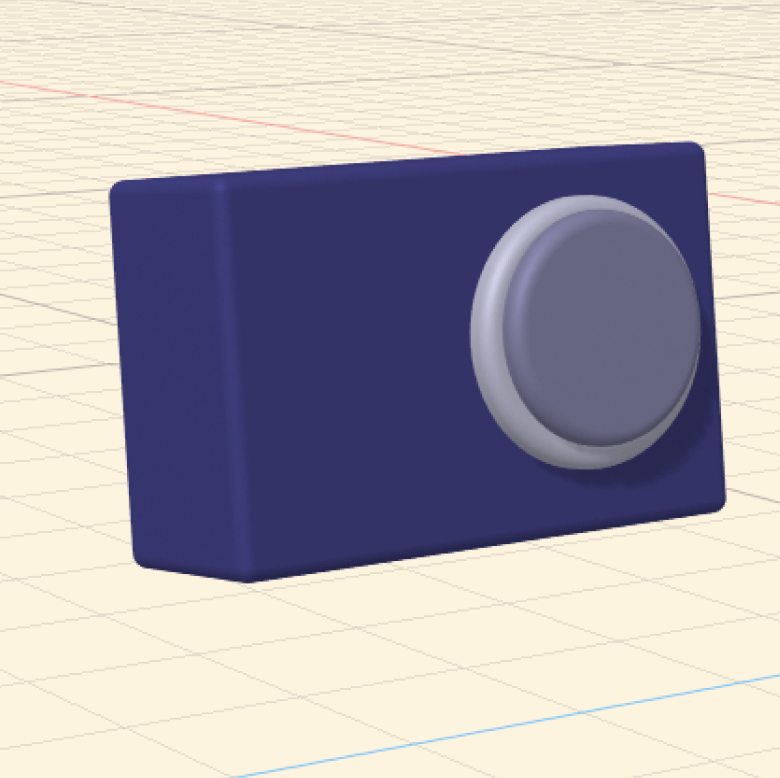
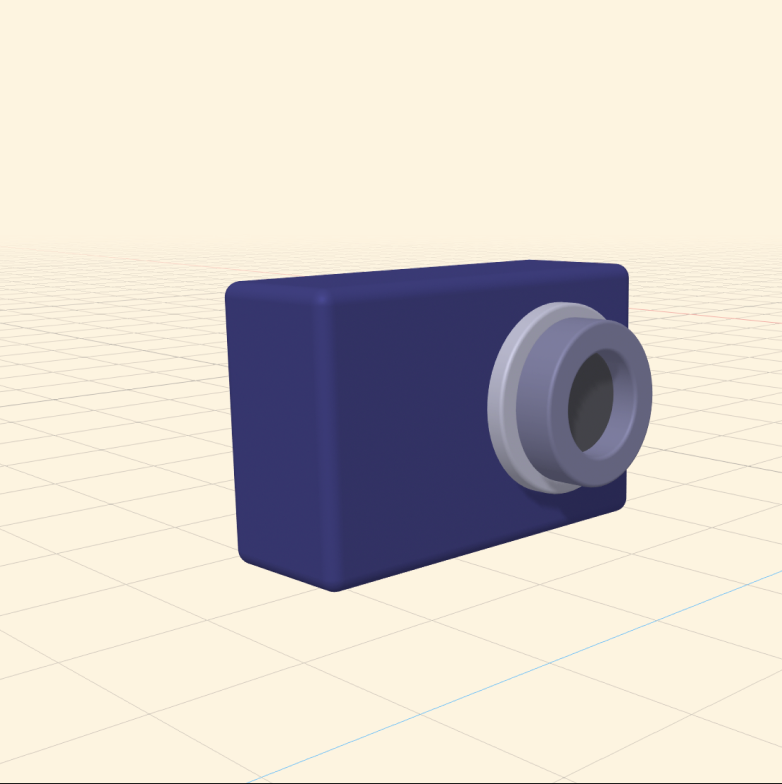
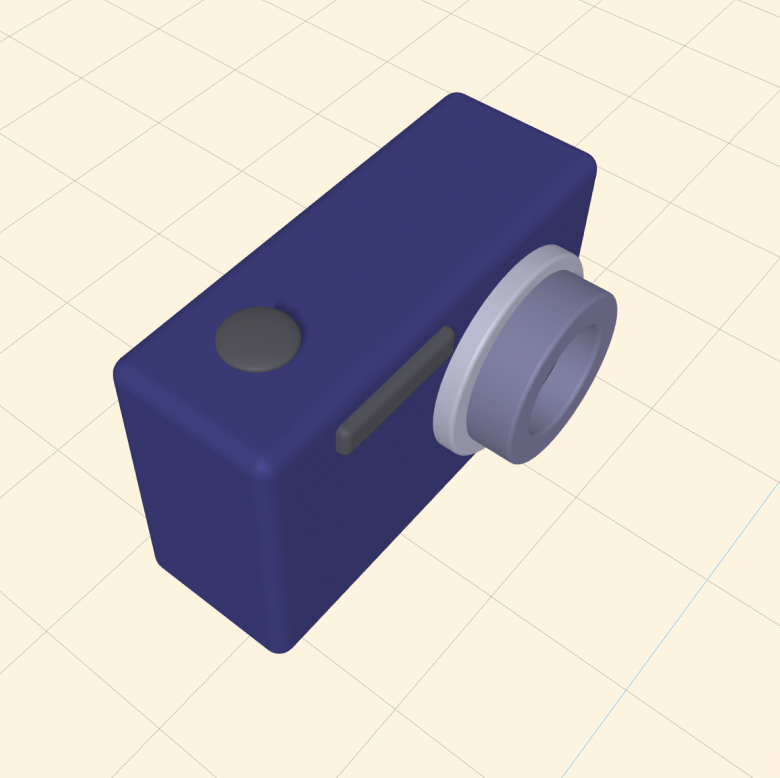
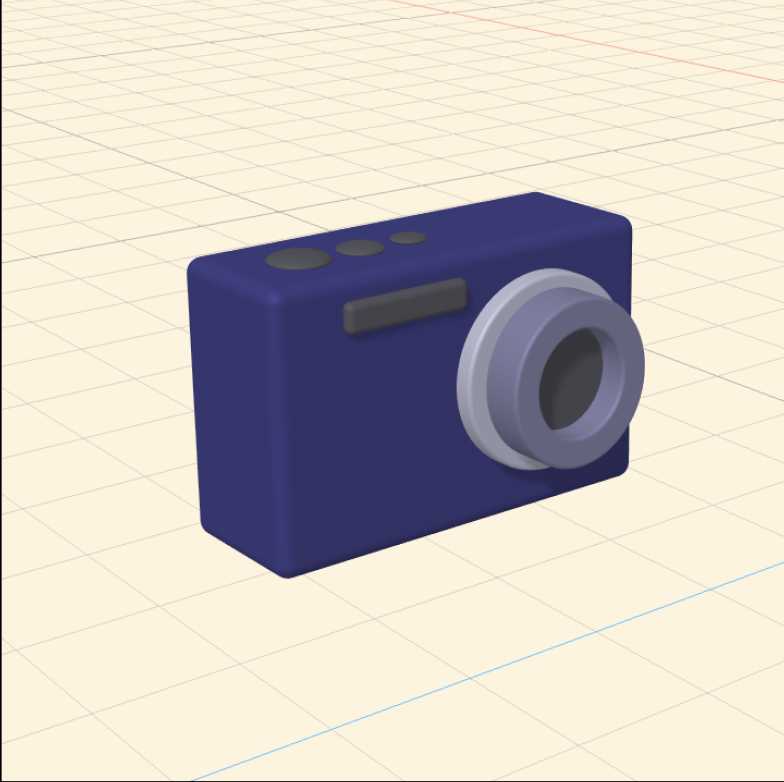
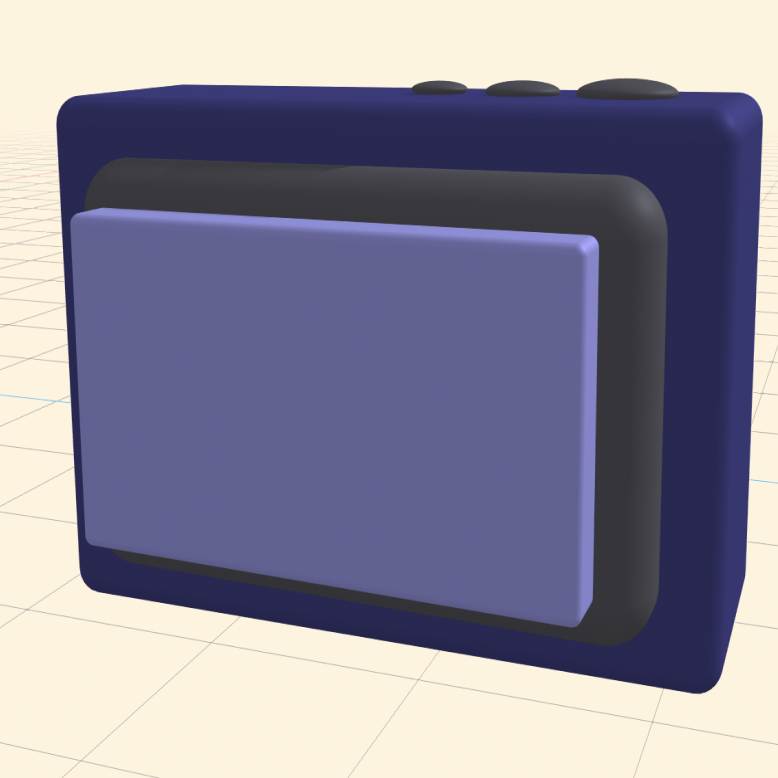
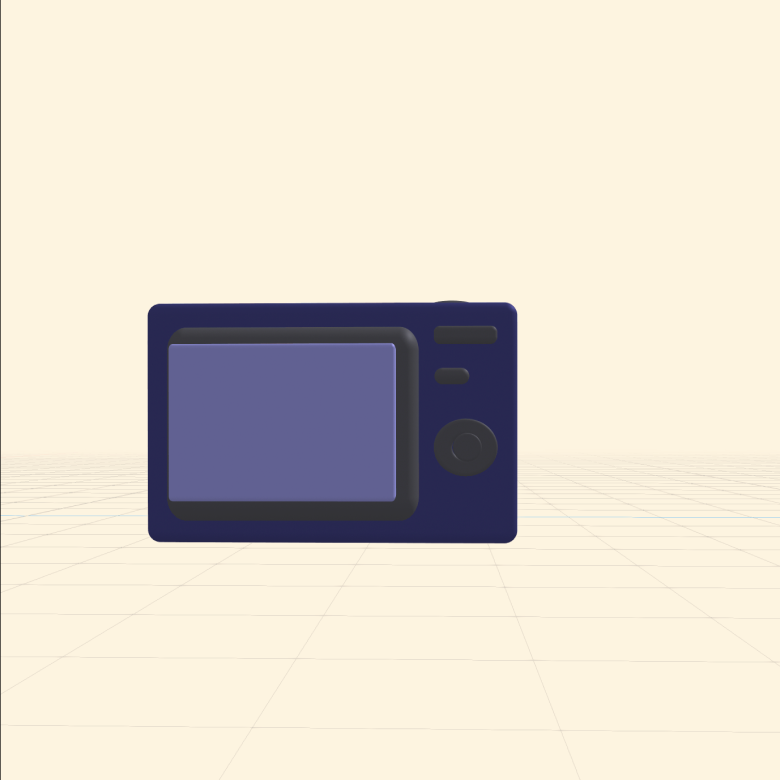
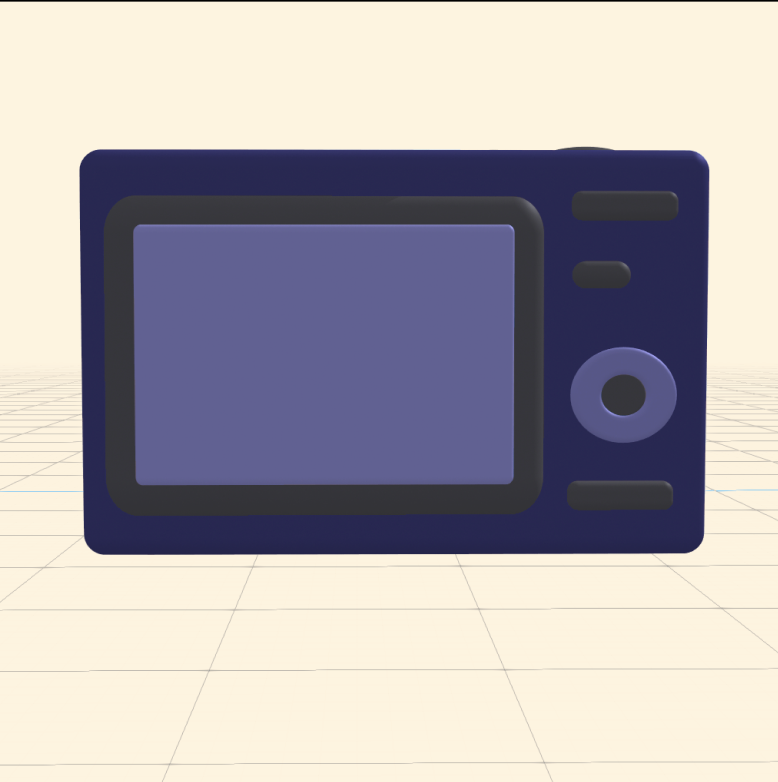
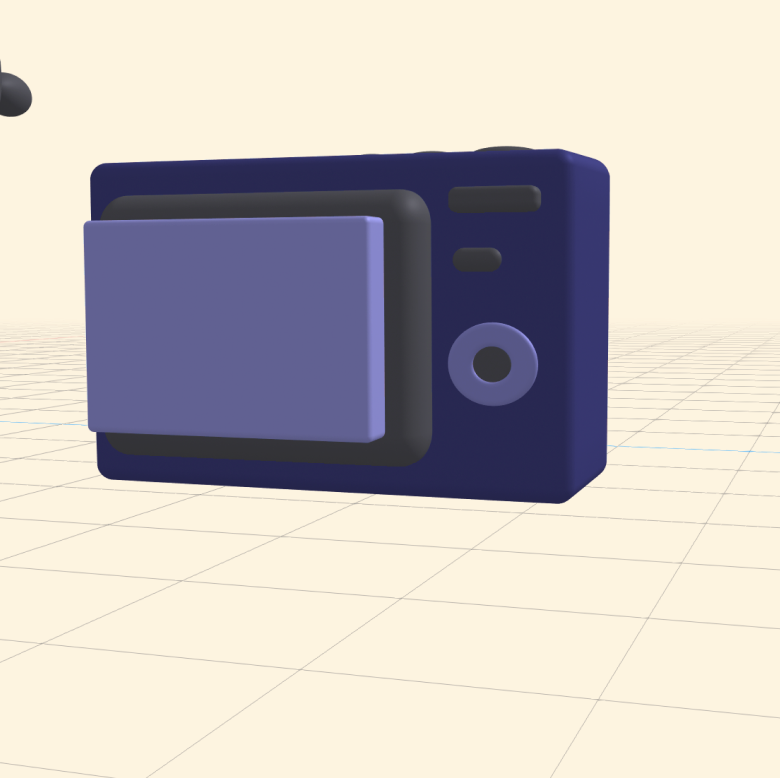
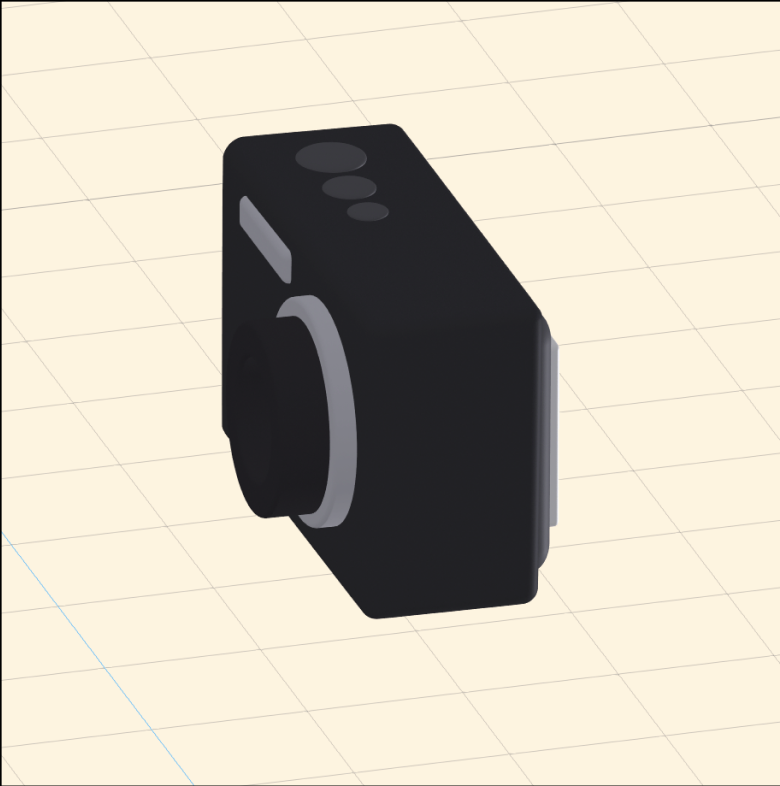
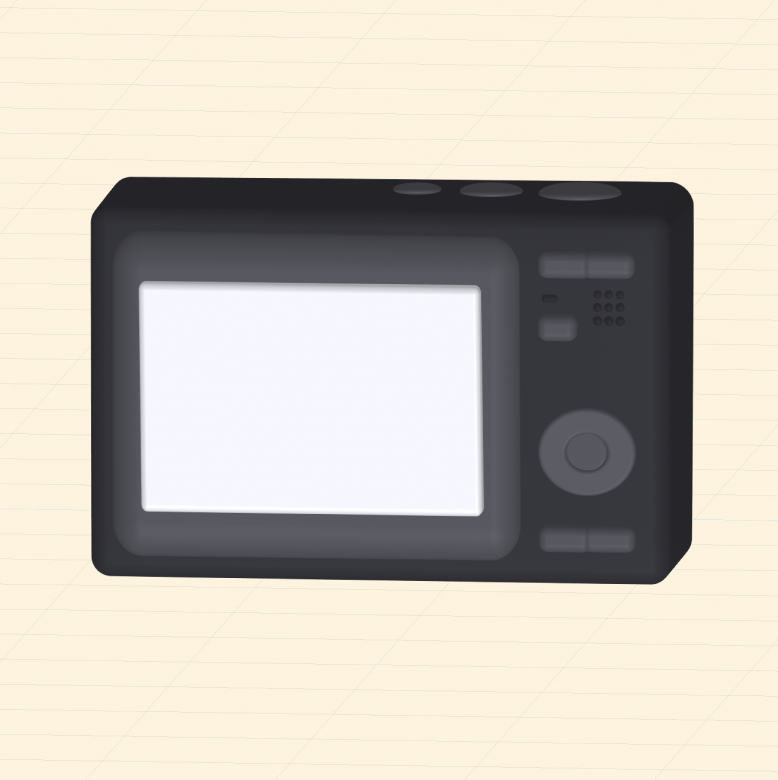
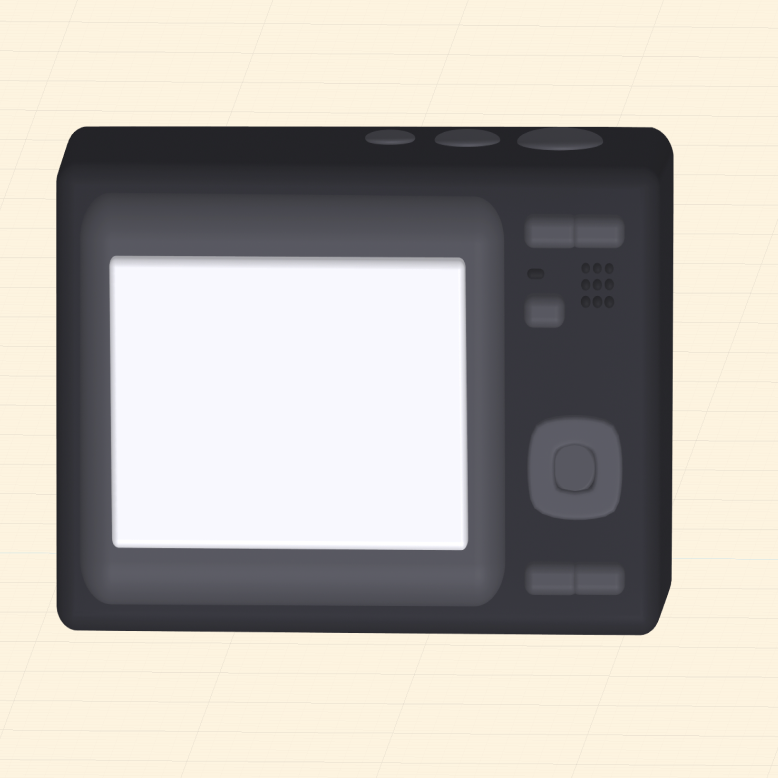
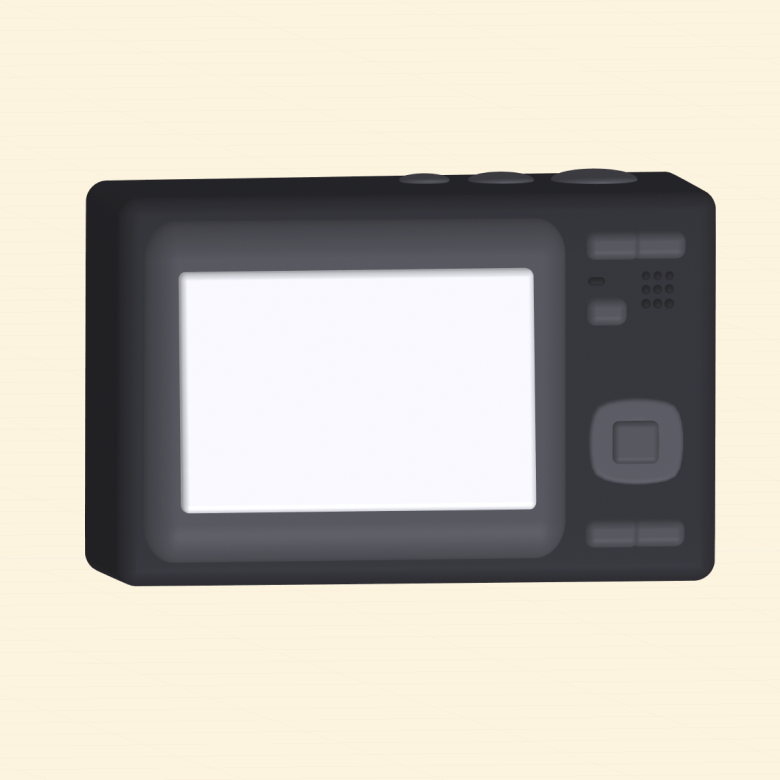
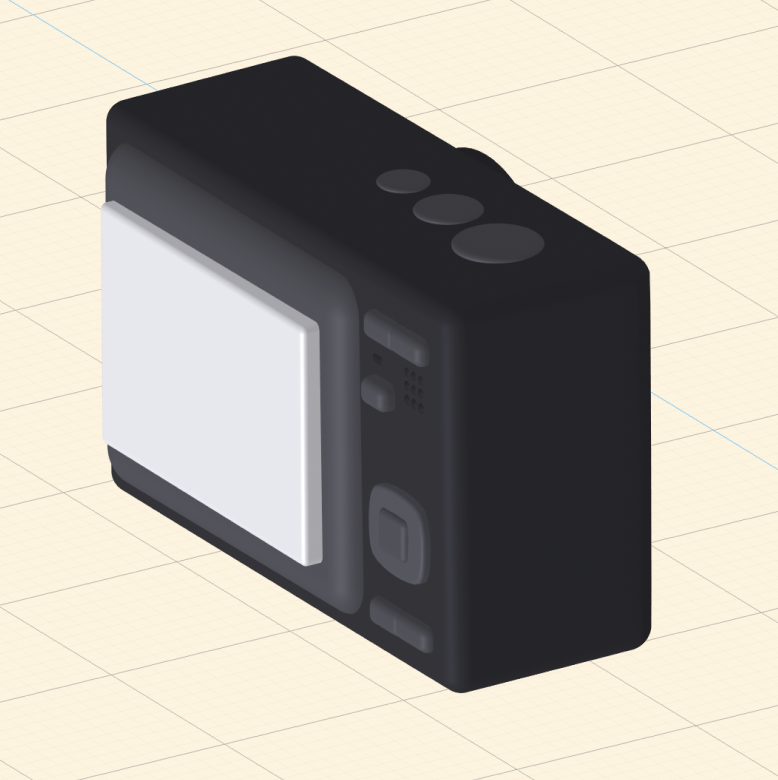
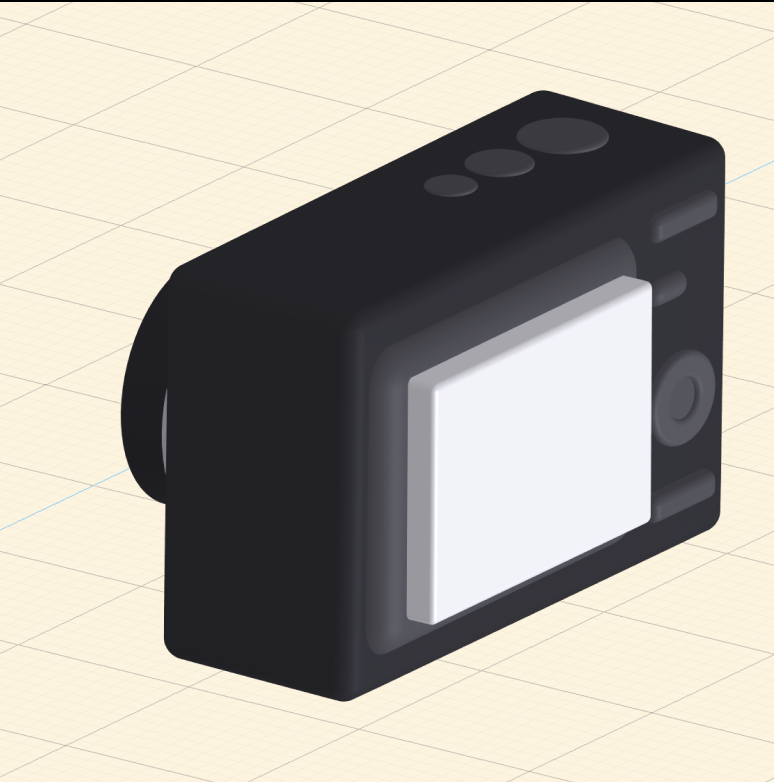
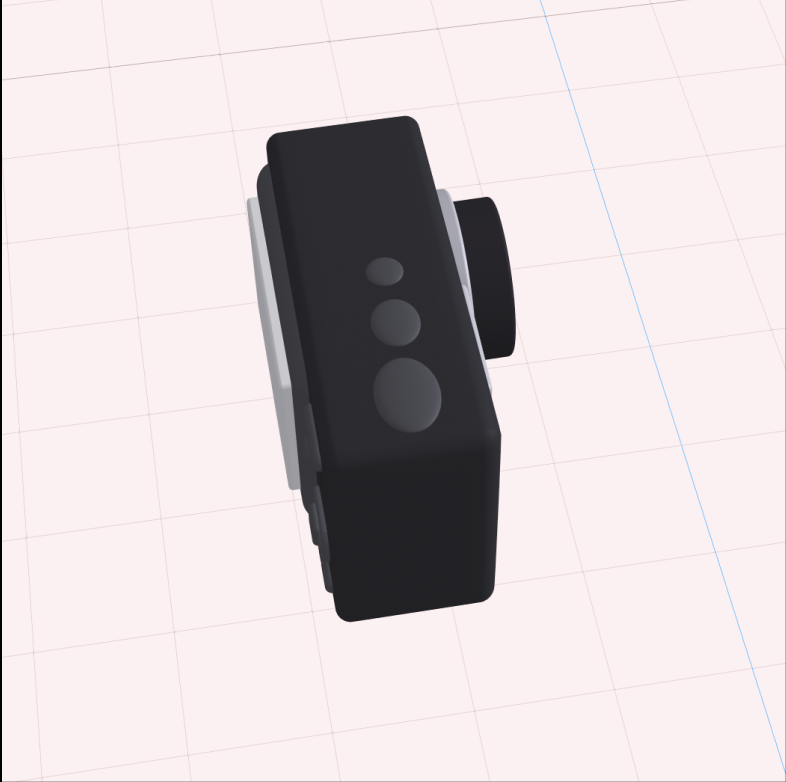
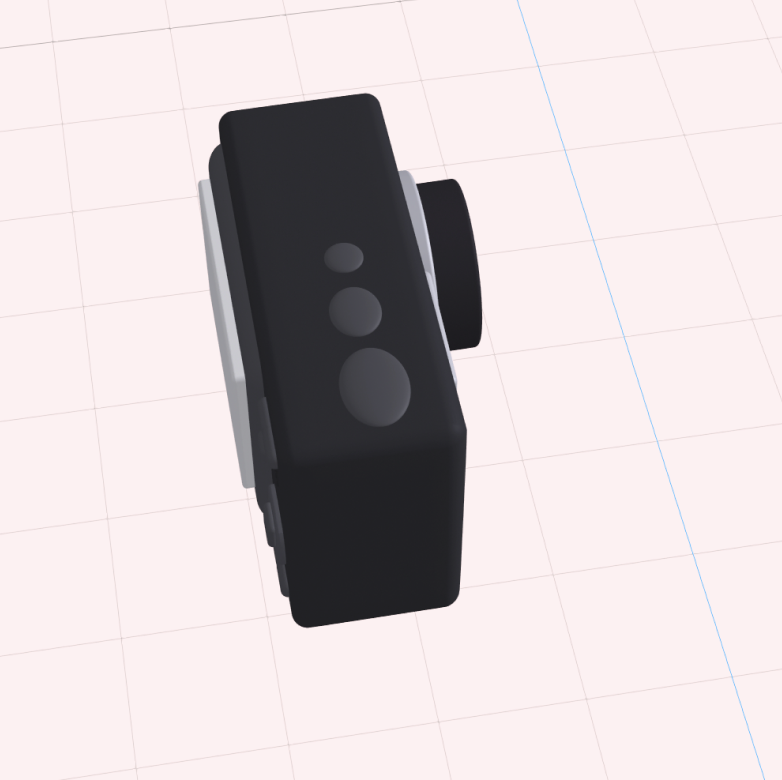
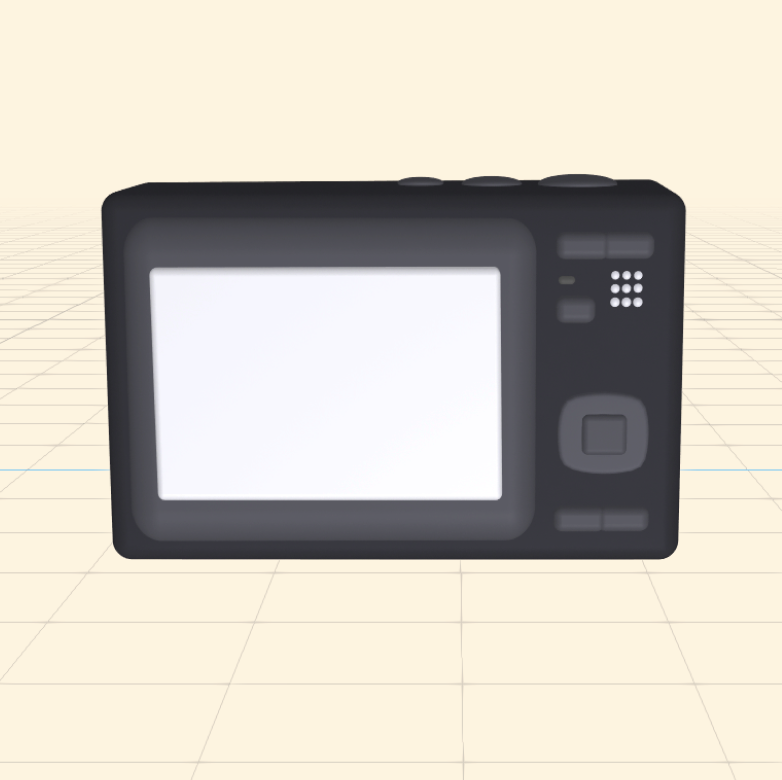
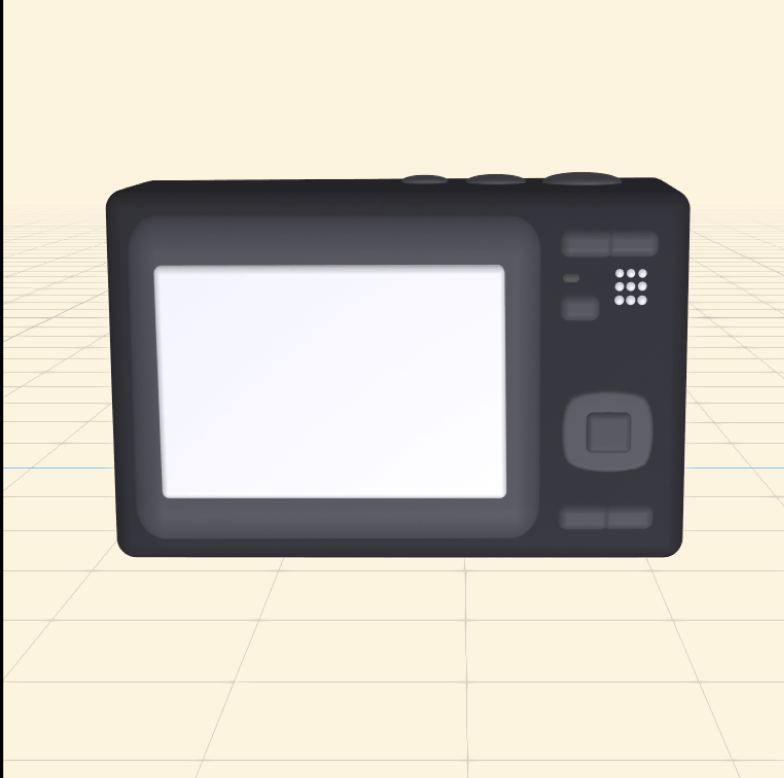
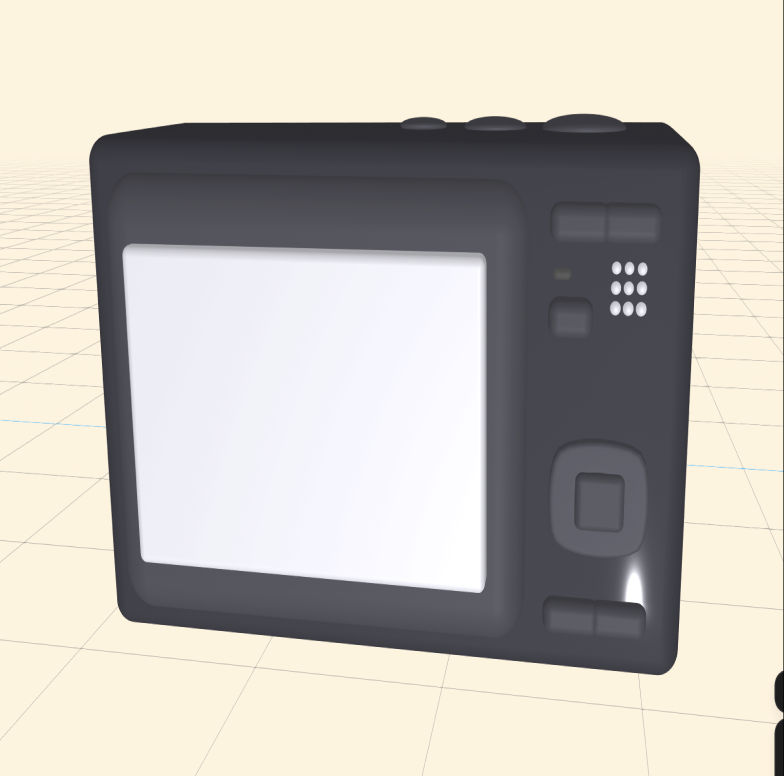
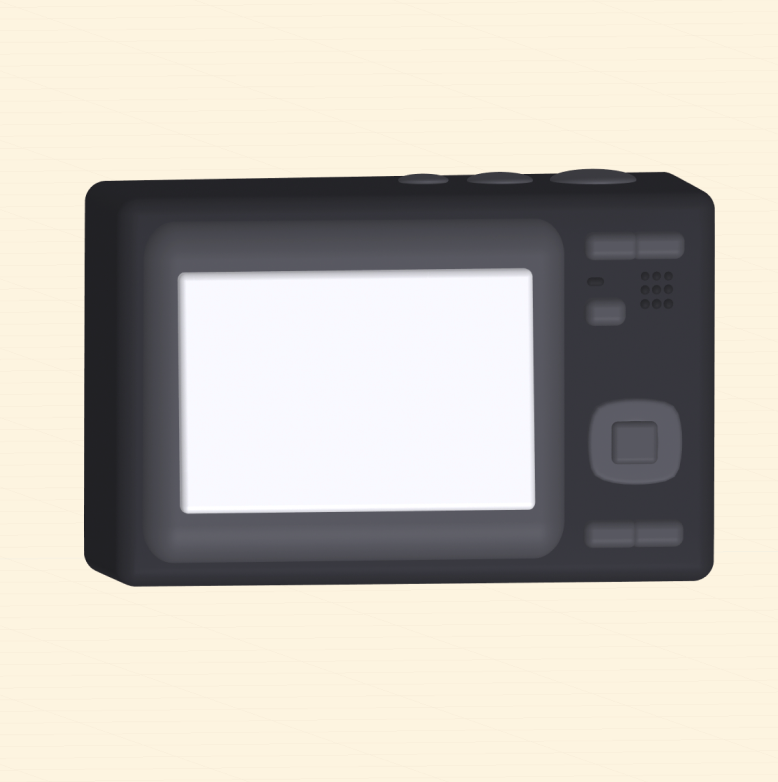
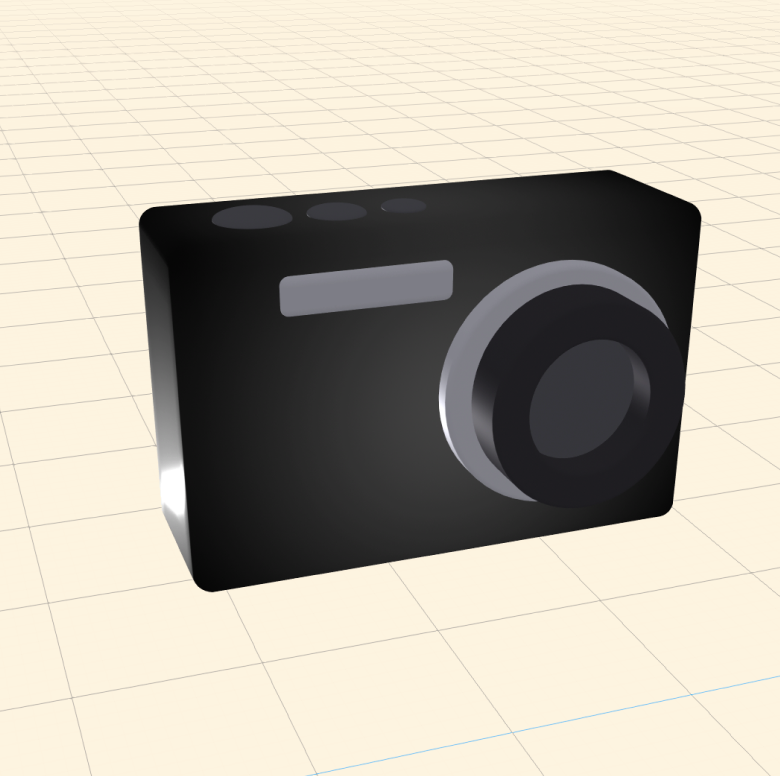
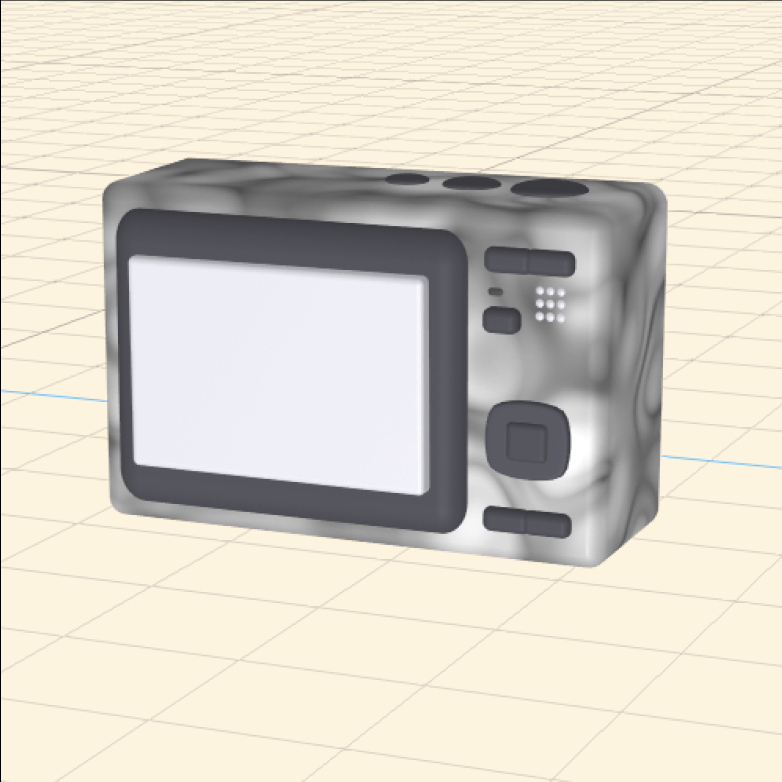
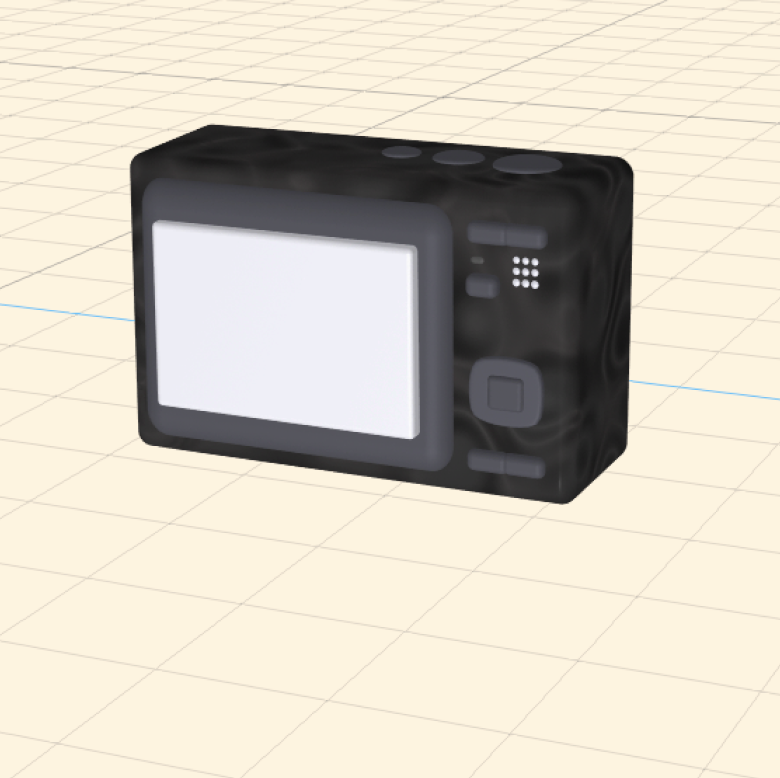
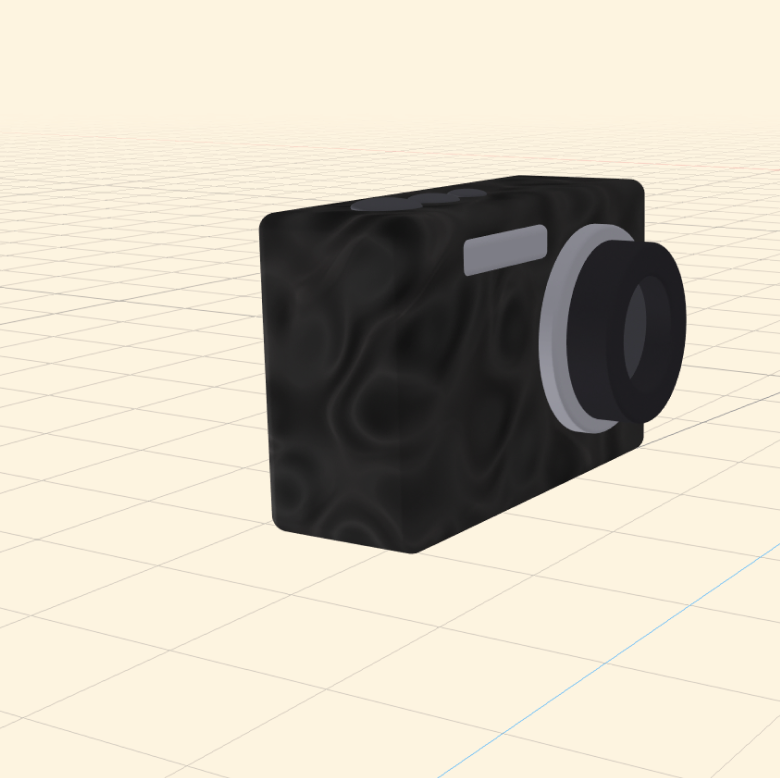
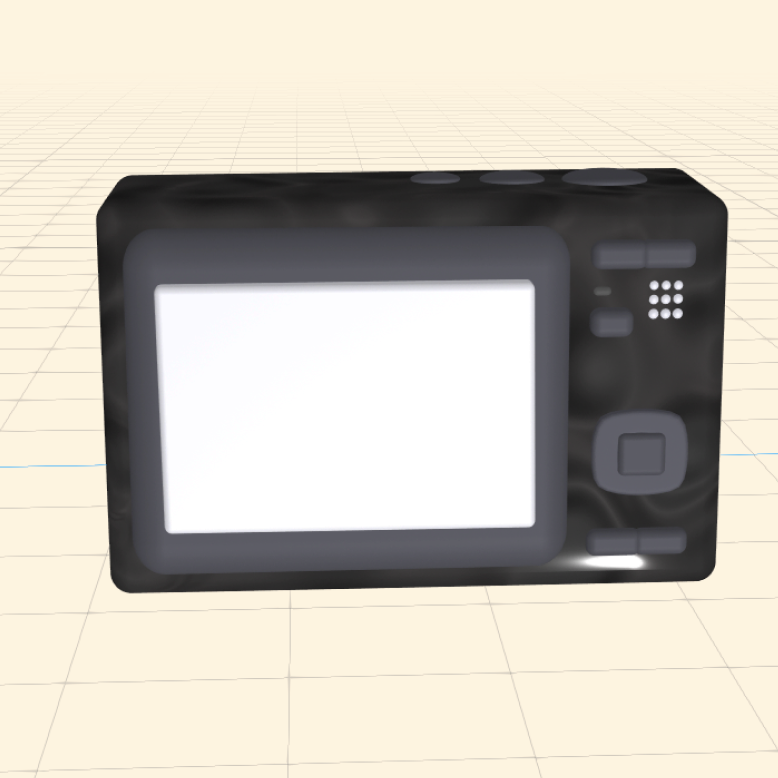
For my first iteration, I wanted to put down basic simple shapes to get the general look of my object (digital camera). After putting together shapes like rectangles and flattened down spheres, I rounded the corners of the shapes. I first started with grey shapes, and I later changed each shape to be different colours, so I could tell each part/shape apart when modelling them. For my second iteration I worked on figuring out how to hollow the lens so it could look like the camera was turned on. I thought this would be much more interesting to look at than a camera that wasnt on and the lens was collapsed. I personally could not find recent spline tutorials, so I tried different ways to recreate it. At first, I tried to recreate it using a torous shape, but it was too round. I tried again using a cylinder that I hollowed out. For this iteration I added some features that would help further show how this model is a camera i.e the button to take a picture, and a longer button for flash. For this iteration I began to reference my object more by placing down more details that the camera had like buttons. For this iteration I began working on the back side of the camera. I found this part along with the lens to be the most difficult to recreate. For this iteration I added the control buttons for the camera to the right side. For the large circle button I put a torous shape as a placeholder while I worked on other details so I could then go back and work on its details. For this iteration I changed the colour of a button so I would be able to tell them apart. For this iteration i realized the frame was sticking out too much, so i shortened its length and pushed it into the body of the camera. For this iteration I changed the colours to be more realistic and also to visually show how it is an actual camera. I felt like the purple colours weren't helping me recognize it was a replica of my object while I was modelling. I do regret doing this step early, and I wish I waited for this to be my last step.  For this iteration I added more detail into the buttons. For example the ones I was still missing, or the line seperation between two functions on the same button. I think this brought the look together. During this iteration I went back and worked on the larger circle button. In this iteration I hollowed out the inside of a cylinder and placed a sphere underneath it to resemble the button. After finishing, it still didn't look right but I moved on to work on other details. In this iteration i went back and worked on the circle button that didn't look right. To recreate the button more accurately I restarted with a cylinder, hollowed it out, moved its individual vertexs into a rough rectangle, then used subdivision to smooth out the shape. I did the same process minus the hollowing out step to a rectangle to recreate the button in the middle that it now sitting slightly above the circle button. I found this process fun, even if it was tedious. In this iteration/step of my process I looked back on my previous duplicated models to check my progress and to see if I missed a detail or needed to align something that I would have missed because I was focusing on finalizing the look of my model. During this iteration I lengthened the shape of the top view buttons to better replicate what they looked like on my camera. In this iteration I properly aligned the buttons I reshaped in the previous iteration In this iteration I changed the colour of some buttons because I couldn't see them because of how dark I coloured them. While on the previous iteration I realized the button in the middle of the circle button was misaligned to the left so I fixed it. In this iteration I was happy with the look of my model, so I started changing the colour of the body and changing its texture to test it out. In this iteration I changed the colour back to the previous colour because I did not like the grey or the sheen. In this iteration I changed the background colour to a gradient to replicate the sheen a different way. In this iteration I experiented with the patterns available in spline. In this iteration I experimented with changing colours and adjusting the pattern. On this iteration I darkened the pattern slightly. On this iteration I finished experimenting and was happy with the model.

Design Challenge 2
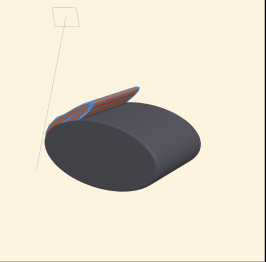
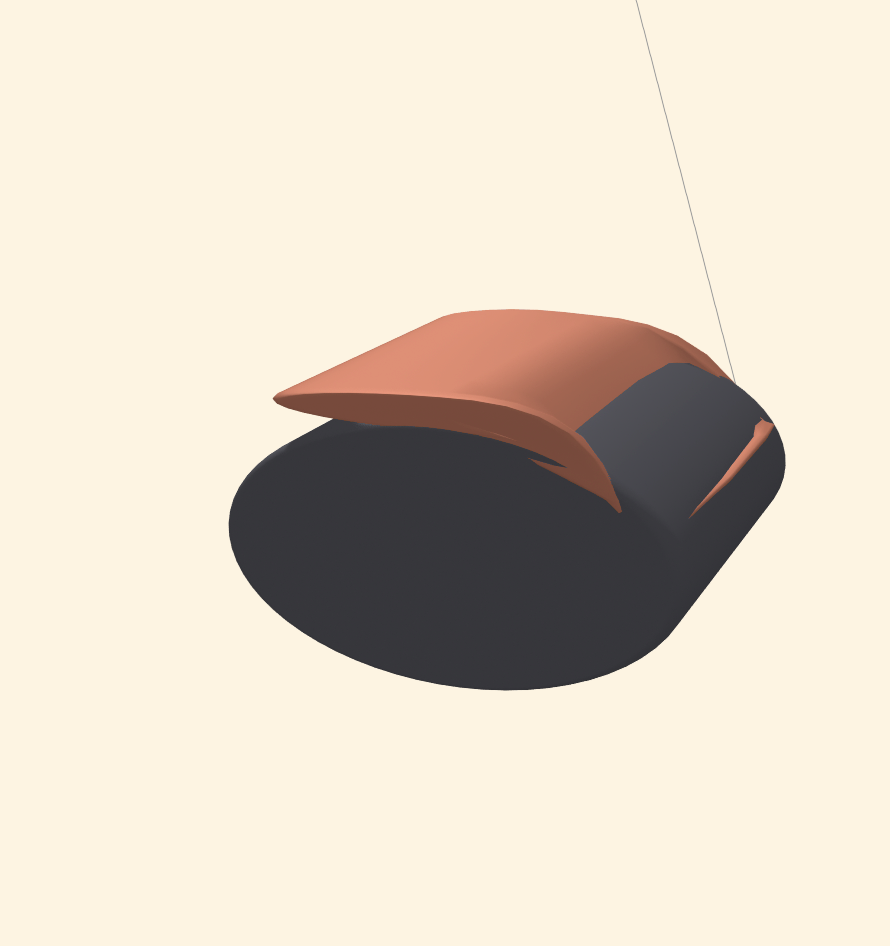
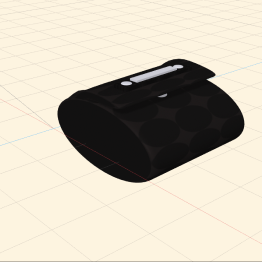
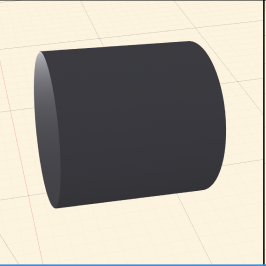
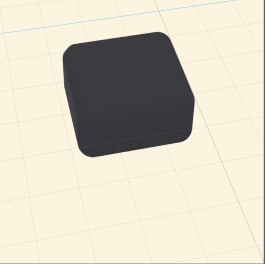
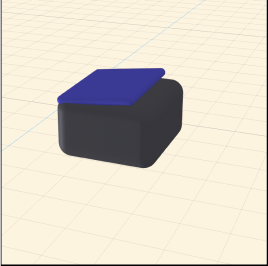
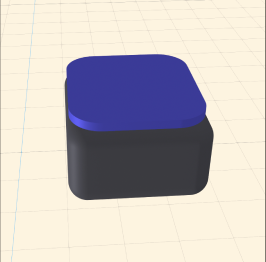
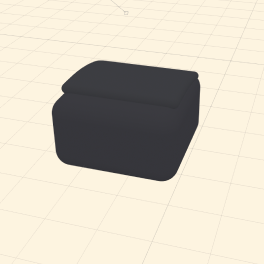
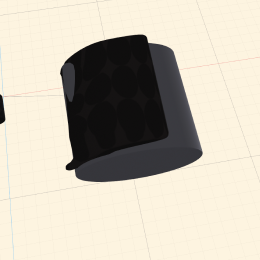
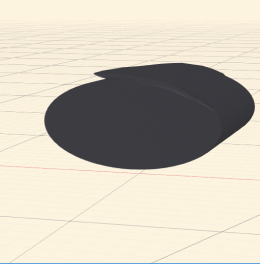
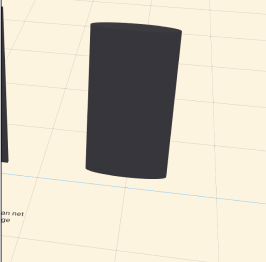
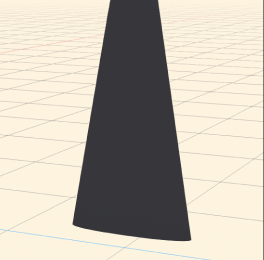
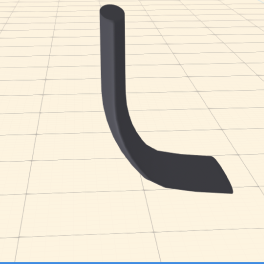
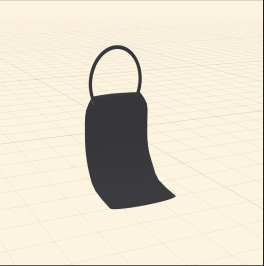
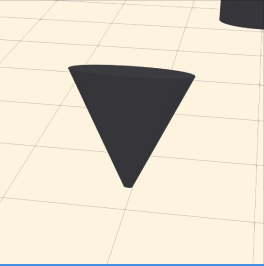
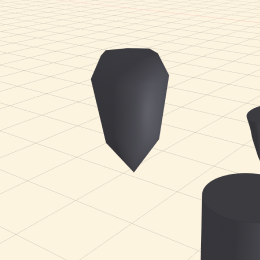
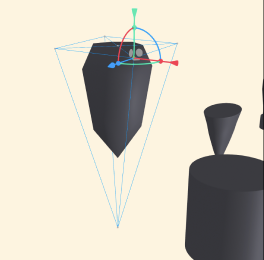
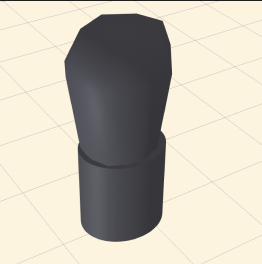
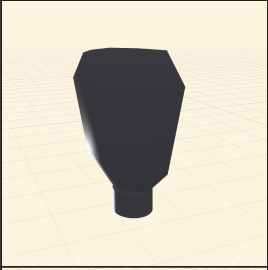
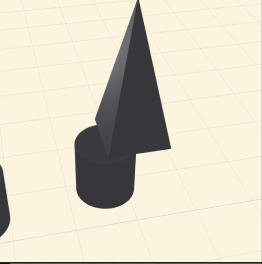
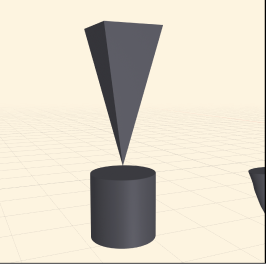
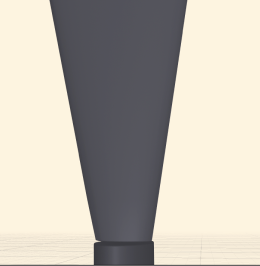
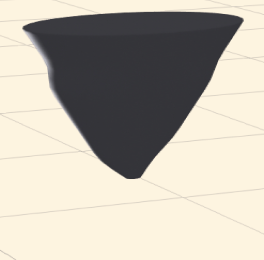
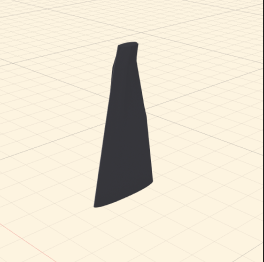
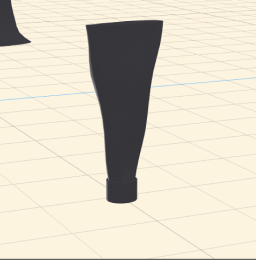
This was my first attempt at creating a wallet for my design challenge 1. I used a cylinder and a flate plane i extruded in order to create it. This is the finished product of the wallet i modelled for design challenge 1. For my next attempt, i wanted to find other ways to create a wallet, and iterate from there. In my second attempt, iteration 1 I started with a cylinder for my third attempt at modelling a wallet i started with a slight more complex shape. I started with a beveled/rounded square. In this iteration using the rounded square i placed a plane and angled it to create one of the wallet flaps. In this iteration i created loop cuts so i could mold the flap, as well as rounded the corners. In this final iteration i worked mainly on the flap so it had a rounded c shape. This iteration is using the cylinder in order to model a wallet. I found that creating the flap was much more difficult compared to using the square, because i kept having to go back and round the flap or pull the mesh so the cylinder mesh would'nt poke through the flap. In this final iteration and attempt at creating a wallet i focused on flattening and evenly rounding the wallet shape. In my very first attempt in design challenge 1, the wallet had very obvious imperfections that i wanted to smoothen and fix. In this iteration I wanted to recreate an african net sponge. I chose that object because i wanted to replicate its shape and folds. I started out with a flat plane that i extruded and beveled. In this iteration i shaped the mesh into almost a triangular pointed shape. in this iteration i pulled the mesh into another c shape. I found this to be the most difficult step. i needed to do this carefully so the mesh wouldn't warp and break. in this iteration i worked on finishing details like rounding out the top corners of the net and adding a handle. In this iteration i wanted to create a squeezed out bottle. Similarly to why i wanted to recreate the african net sponge i wanted to recreate the indents the bottle had. I tried two methods/iterations to try and recreate it. In this iteration i tried using a cone and a cylinder. Because of splines interface working with the cone mesh was extremely difficult, i couldnt had loop cuts and there werent and specific planes, points, or edges i could mold. I did what i could to smoothen out the edges of the bottle but using subdivison. put a description here or you will lose grades In my next iteration i tried using a pyramid and a cylinder. For this iteration i placed the pyramid on top of the cylinder, however i realized that i would have the same issue that i had with the first attempt, so i used a plane like i did when creating the net sponge. using the plane was much easier because i was able to morphe the mesh exactly how i wanted to. at first i tried using a cone to experiment with pushing in the mesh to it looked like dents and creases. Then i used a plane i duplicated to experiment instead. This is the final product of my second attempt at recreating a squeezed bottle.

Material Workshop 1
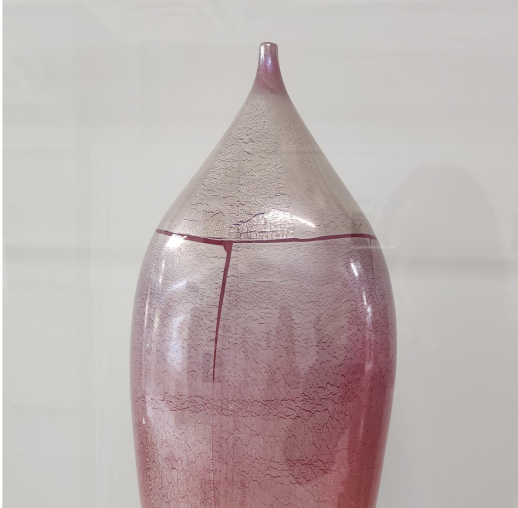
Blown Glass Vase<br><br>
Material: Glass, made by heating silica-based glass until it becomes molten and workable.<br>
Use: Used as a functional or decorative object. Its shape, colour, transparency, and texture can be varied.<br>
Craft Practice: Glassblowing, a traditional craft technique where air is blown through a blowpipe into molten glass to create a hollow form. The glass is shaped using tools and rotation, then slowly cooled in a kiln to prevent cracking.<br>
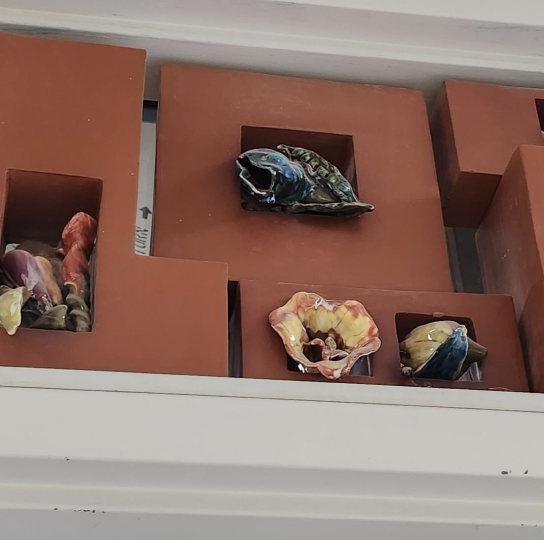
Associated Program: Glass Arts, Glassblowing, or Fine Craft programs. Fired and Glazed Ceramics <br><br>
Material: Clay, shaped into an object and hardened in a kiln through firing. A glaze made from minerals is applied to create a smooth, coloured, glossy, or textured surface.<br>
Use: Used to create functional objects such as mugs, bowls, plates, and vases, as well as decorative sculptures, tiles, and art pieces.<br>
Craft Practice: Ceramics and pottery.
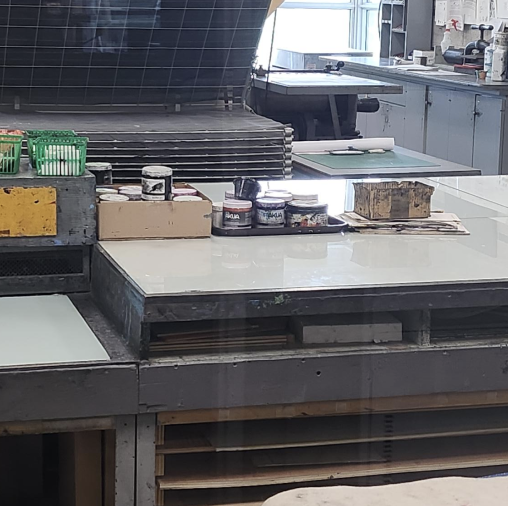
                 <br> Associated programs:  Craft and Design (Ceramics focused). Printing Ink <br><br> Material: Printing ink made from pigments or dyes mixed with a binder and other additives. <br>Use: Printing ink is used to transfer text, images, patterns, and illustrations onto materials like paper, fabric, and other surfaces. It is used to produce posters, books, artwork, packaging, and textiles.<br>


Craft Practice: Printmaking. <br> Associated programs:  Craft and Design (Textiles focused)

Material Workshop 2

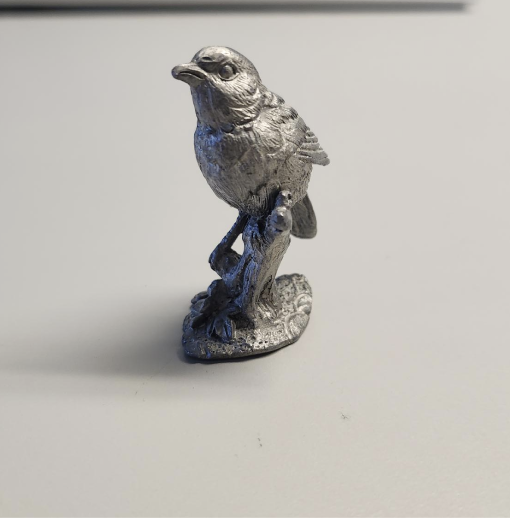
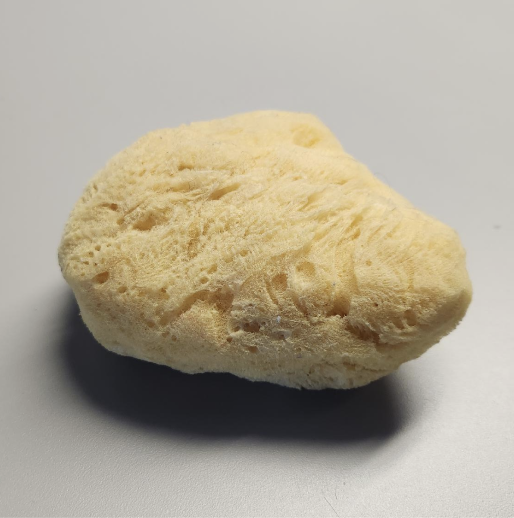
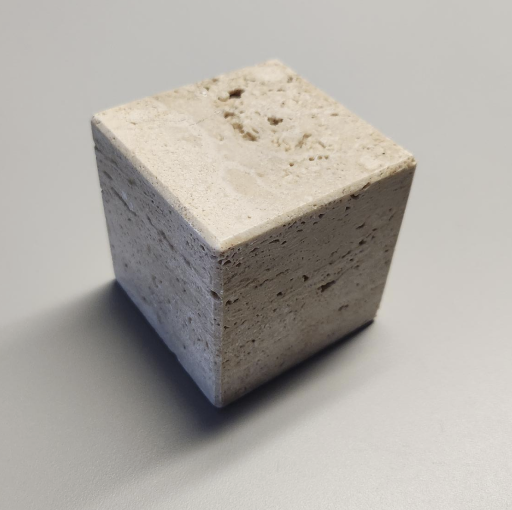
Metal bird sculpture<br><br> -Physical object<br> -I could use this as a reference for how light and shadows reflect on metalic surfaces <br> -The sculpture also as a slight dimple texture/imperfections on it which is an interesting texture to see on metal (also something commonly seen on worn down metal). Sponge<br><br> -Natural looking sponge texture, it doesn't look like a typical sponge due to its texture and shape. <br> -The natural ripples and texture could be interesting as a texture overlay. Limestone<br><br> -Most interesting object from what I chose from <br> -Doesn't entirely look like stone even despite its shape, and due to its texture<br> -Surprisingly heavy <br> porous and bone like texture.

Project 1


Modern flip phone

Shows us how an older design can be reintroduced and perceived differently through technological and aesthetical change.
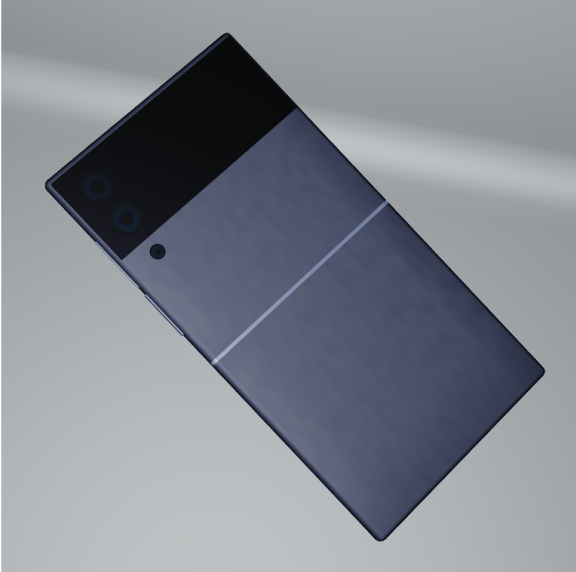
Phone 3D model <div class='container'><iframe class='responsive-iframe' src='http://gomezis.phoenix.sheridanc.on.ca/Phone/index.html'></iframe></div>

Pumpkin sculpture

Shows us how cultural traditions can change the meaning of an object.
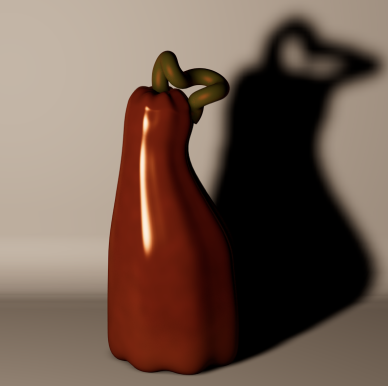
Pumpkin 3D model <div class='container'><iframe class='responsive-iframe' src='http://gomezis.phoenix.sheridanc.on.ca/pumpkin/index.html'></iframe></div>

Fork

Shows us how an ordinary object can change in social meaning over time.
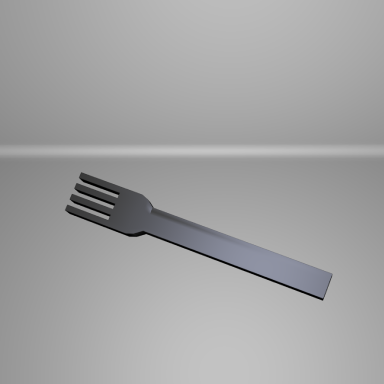
Fork 3D model <div class='container'><iframe class='responsive-iframe' src='http://gomezis.phoenix.sheridanc.on.ca/fork/index.html'></iframe></div>
×

Powered by w3.css